

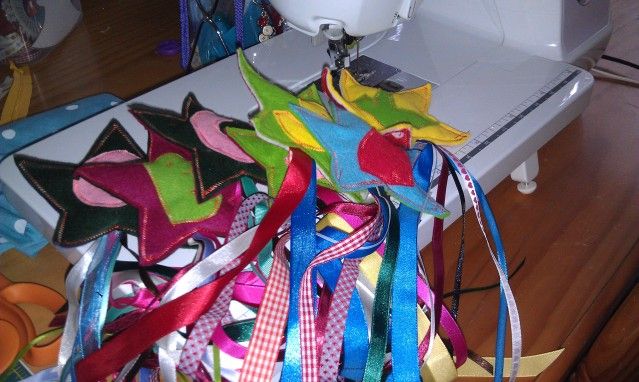
They're kind of addictive, and really easy and quick. Let me show you how I made them....
MATERIALS:
- About 40cm each of 5 ribbons (or more than 5 and varying lengths!)
- Two pieces/scraps of felt over 10cm square (or fleece would work too)
- Contrasting thread
- Filling - I used long grain rice. Mine took about half a cup each to fill.
1. I began by cutting out a star template (using a piece of cardboard which was ready to go into the recycling bin) about 10cm at the widest point.
Mine wasn't perfect, once they are stuffed it hides your dodginess a little hehe
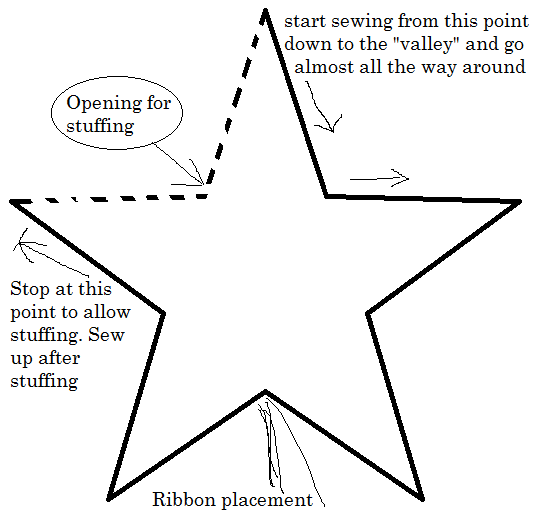
2. Trace your star shape onto your top piece of felt. It doesn't hurt to mark a start/stop point (now) to make sure you remember to leave an opening for stuffing. I recommend leaving open a whole "valley" between two points.
3. Embellish the front with any personalisation before the next step
4. Prepare your ribbon lengths together to create a tail. I simply pinned mine together near the top.
5. Sew the front piece of felt to the back piece (right sides out, you won't turn through), ensuring you have the ribbon tail in place at the bottom, and leaving the stuffing opening.
6. Fill with rice or other heavy filling, sew opening shut.
7. Cut out the star and let the kids chuck it about!
A friend told me she cut out the stars first, and then sewed them. She used straight stitch which would be even faster.
But I like to sew first, fill, then cut. It's the perfect excuse to use those fancy stitches you never get to use, keeping that rice in nice and tight, and if you use *my favourite* variegated thread it shows off more, the wider the stitch width! Less room for error sewing off the side by accident too.
If you make one (or 10! or more!) please email me a pic to cass@cassthecoolest.com or put it on my facebook wall, I'd love to see it! I don't care if it's a midnight pic using a flash - how else do we sew for the kids hehe.
I would recommend it from ages 18 months to about 3 and a half - older if you want to play piggy in the middle or something!?
No comments:
Post a Comment
Thanks for letting me believe I'm not talking to myself by commenting: HERE