Life story - the short version


I'm a fun loving 30 something year old . Married my favourite guy. Started on my production of children & number 1 is an adorable boy. Big on family. Big on craft. Love country music. Love fuss free + practical ...aaand maybe with just a little bow for decoration!

Love the law of attraction too. And singing ...dancing ...bright colours and excessive punctuation ...and stationery.

Thursday, June 20, 2013

This week in pictures. Princess quilt top done

I recently found a tutorial for Lace/Vintage Flowers and now I'm hooked. See the tutorial that got me hooked by clicking here.

I found that my huge stash never had lace in it! Ok I found some rainbow eyelet lace once, so I had that. Anyway I rushed to buy supplies and this is my first one.

I have normally spent my show funds on quilting supplies and fabric, but at this year's Sydney Show I bought a lot of girly things I've never built into my stash. I have a girl now, no I still can't believe it!
I got home, all excted for vintage off white, cream, bone, beige, mother of pearl and pink, only to find I didn't really have two that matched lol. Take a look for yourself.

Well I obviously need to get more cream, bone eggshell or beige to go with my trims ha. I hate cutting circles so I bought a bunch of felt ones for the back of flowers from ebay and had to laugh when the mail arrived. It was clearly the felt... I know, bare with me, I don't get out much.

So I moved on to finish my daughter's first quilt. Well, finished to the pattern, but I'm going to make it match the mattress size of a single bed with some pin wheels or friendship stars on the top and bottom. Cute, huh? Riley Blake fabric. So adorable.

Also this week I made a sleeping bag with (open ended) zip from top down for my daughter, and a custom request bag to transport a pram on flights. It's a drawstring bag with a bit of Velcro to make the opening a little wider.

And here is the rest of my show spending...

Monday, May 20, 2013

Shirring a flower to embellish a boy's hoodie into girl's

Thanks to Ashley at make it and love it I was inspired to buy shirring elastic and wind my bobbin. About a year ago or more. I didn't have the guts to try it out until I was looking for a way to embellish a navy blue hoodie so my daughter could get away with wearing my son's old coat.
I decided her knit/stretch fabric flowers were most suitable for the look I wanted so I gave it a crack. First try I hadn't threaded my bobbin correctly (I wasn't sure if I was expecting too much from the bobbin, although I knew it wasn't threaded as normal) so it didn't shir.
I started again and it worked a charm!
The only surprise to me was how fast the bobbin ran out so you would need to watch that.
I sewed a pink cotton circle over the boyish motif and hand sewed the shirred scrap around it till I liked the look.
I took a pic here but I've since cut the striped lining out of the hood, leaving only blue.
What do you reckon?

Sunday, March 31, 2013

Sweet pouch swap finished and latest projects

I've received my sew sweet pouch swaps from my partner!
Ros at Sew delicious held a swap and I made a pouch to look like a book that went off to Evi in Tasmania. (Second picture).
My pouch hadn't arrived so I asked Ros to help. My original partner had been delayed due to personal circumstances and was yet to finish my pouch.
As a kind gesture and to thank me for my patience Ros organised a pouch to be sent to me and I received this beautiful red pouch with postcards and chocolates inside from a lady named Ruth! She has used decorative stitch which you know I'm a sucker for! And red! Love.
Today I received my original partner's pouch which is made of hand sewn hexies in a warm rich shade of neutrals with a bar of lindt chocolate inside mmm. Thank you Perri from Goondiwindi :-)
Thank you to Ros for hosting the swap. Swaps are a good way to stretch your skill set and even sew with fabrics you wouldn't normally choose, and meet other sewing friends. I recommend everyone tries them.
This is my third time swapping but it won't be my last!

Friday, March 29, 2013

Ten minute block with cathedral roll

Ten minute block with cathedral roll centre. Can you believe that all these seams are straight except the simple top stitching?


I found the process on youtube from Suzanne McNeill's of Design originals.

She uses layer cake pieces which are 10in squares. I cut some 8 inch squares because that was the widest point of these two scrap fabrics I had, and it turned out like the large one above.


I liked that block, but wanted to increase the size of the centre, comparitively.
I made the small one with a 5 inch centre (because I'm thinking of making a quilt using this process with a rainbow charm pack in my stash!) and the outer squares are 3in ea.

I calculate that you need to make your centre square no larger than twice the length of you outer/smaller squares minus seam.
So if your outer squares are 3in.... 3+3-0.25-0.25-0.25-0.25= then 5 is the largest your centre square can be.


Seeing as there are four 1/4 inch seams, that makes 1 inch, so the easy way to calculate it is 3x2 -1=5 is the largest your centre square can be.

Here's Suzanne McNeill's video.

If you make one from seeing my blog, please email it to me at cass@cassthecoolest.com !

Friday, February 22, 2013

Handmade gifts for my girl

Being part of the sewing community means I receive these beautiful gifts when it's a time for celebration.

My Great Aunty Anna Maria crocheted this beautiful blanket for her. The colour isn't photographed well on our mushroom coloured lounge, see the folded corner for correct colouring.

Quilting Mumma made a baby quilt for my daughter within days of her birth. She gave me fabric in this range too, it's called Ever after and has the cutest things on it. Princesses, castles, birdies in trees with bunting... Cute.

And the ladies from my favourite sewing group, Wyong Patchwork and Sewing, gave me the wooden cardigan.
It's a lovely environment to be blessed with.
Love Cass

Monday, February 18, 2013

Craftsy.com blocks paper and curves

I can't remember what I've foundation pieced before, but I know I've tried it just once. I still sewed the first two pieces right side to right side in error on ALL FOUR blocks and had to unpick lol.
But the end result is cute, don't you think?
Most of my curved blocks were pretty good even with no pins. This one was unusable lol. I mostly made this block to prove I'm not afraid, to prove I can face curved piecing and use the finished result hehe. Thankfully although it's a little wavy, I am proud of it. Come on, and 16 double bias edges, I did well :-)
I accidentally made too many blue ones so I scrapped the stretched out reject and used the blue one.
Now to count all the craftsy blocks and come up with a layout.. Maybe I'll do those hexagons if I need one more block to square up the quilt...

Tuesday, January 22, 2013

Singlet tales. From candy canes to trains.

On Christmas eve I realised the Santa t-shirt I intended to dress my 22month old son in was going to be too hot.
As any sewist would, I set about making something suitable an hour before we are due to arrive LOL.

I've included a pic of the front and of the back,  with teensy little Christmas appliques.

That was very short lived due to being made within hours of Christmas. So yesterday I decided to unpick those appliques and replace them.
Recently I ruined a Chuggington shirt in a wash cycle too hot for the poor chuggers, but the patch on the sleeve was fine. So I used it on the singlet and prepared for my son to fall in love with it....
However, seeing as he can't read, he doesn't recognise it's Chuggington and was not at all excited lol. Oh well, one day the penny might drop!

Sunday, January 20, 2013

Big boy bed quilt just in time

My son was moved from his cot to a single bed just before Christmas. Seeing as his little brother or sister is due today (yup, not born yet) it was on the cards anyway, and when I saw his foot reached over the top bar of the cot I could wait no longer.

I had started on a quilt with his name after he was born, but somehow miscalculated and ended up with some rows not the same width as others. Needless to say it was relegated to the ufo tub. I was told it was better to finish a dodgy quilt made with love than to leave it incomplete.

When I bought a quilt kit for this next baby at the Sydney show, I figured I couldn't start it til I'd done the quilt below.
I've said it before, but I thrive on deadlines!
So I'm hand sewing the binding down on my due date, and I can begin the quilt kit for the new baby tomorrow hehe.

I realised I have recently completed FOUR quilt tops, but the last time I quilted anything was for the Wyong show in April 2012!
I was nervous to get started again and my straight lines are anything but straight. I just had to pull on my big girl knickers and get on with it.

I kept forgetting to watch when the quilt needed rolling in the throat of my machine. With the feed dogs down no mistakes go by!
So I went back to rounded and moving stitches instead and this turned out much better!
It's probably totally amateurish to quilt with so many types of free motion designs all on the one quilt, but it was fun so who cares?

Scallops are probably my favourite free motion quilting (FMQ) shape.

Too difficult to photograph but I did "pebbles" all through this part of the castle.
I'm much better at meandering than straight free motion, as you can see.

It's the size of his mattress, and no wider or taller.

Fit for a King!
Thanks for dropping by!
Love Cass

Sunday, January 13, 2013

Misguided nesting - baby sprinkle day

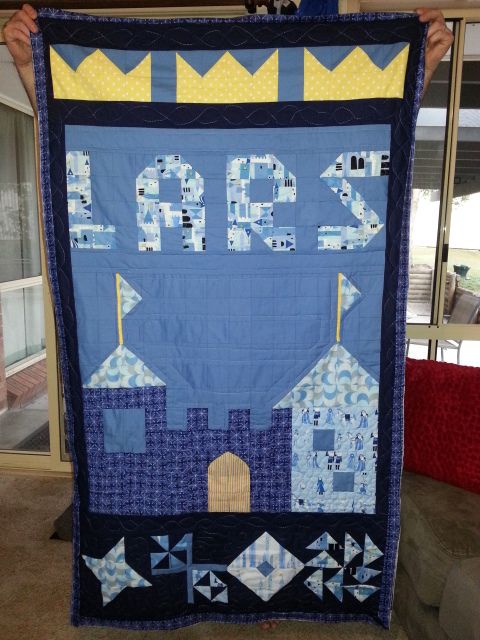
My husband has been hoping the nesting instinct would kick in so the "spare room" which was mostly filled with fabric, notions, trims, and tools might begin to look inhabitable by the new baby!

Well, I was preparing for the new baby, but my nesting got a bit misguided and turned into quilted teacups for the celebration of this baby's birth with my sisters and close friends. A high tea, affectionately named by my bestie as my "Baby sprinkle". Not quite a baby shower seeing as it's the second baby, but somewhat the same.


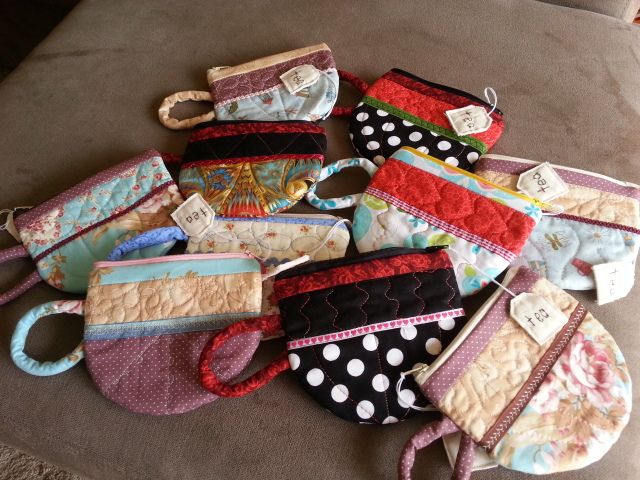
I told you about these and began showing you, but it's today and they're all finished! (ok, if you're a sewist you probably know that's a lie, there are three tea bags that don't have the word "tea" embroidered onto them, but "finished" as they're probably going to get haha).


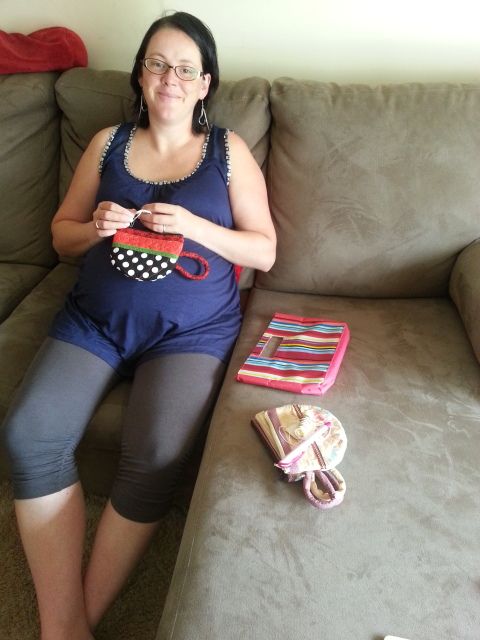
Here I am this morning finishing some embroidery on the last tags whilst waiting to go.

I love them all, seeing as I made each one unique. I decided I'd show every single one:


Just a reminder I bought the pattern from Patchwork pottery, here US$12. It's a little fiddly so I wouldn't say suitable for beginner, but if you've ever sewn a zip before you're experienced enough.
FYI I also found these cute play tea bags yesterday

and pinned them but the post isn't in English so you just have to make it up yourself I think.


Here's my idea of "hand sew the opening closed" haha. Too lazy for that, it's in the lining anyway pfft! Brother NS20 to the rescue!
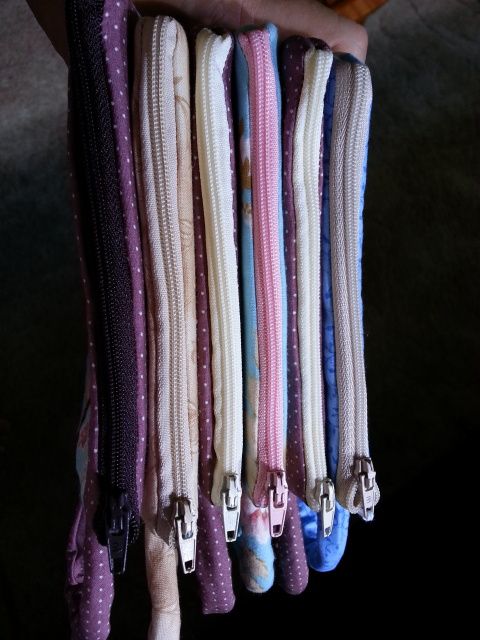
Getting pretty good at those zips after churning out ten in short succession. Just sayin'.

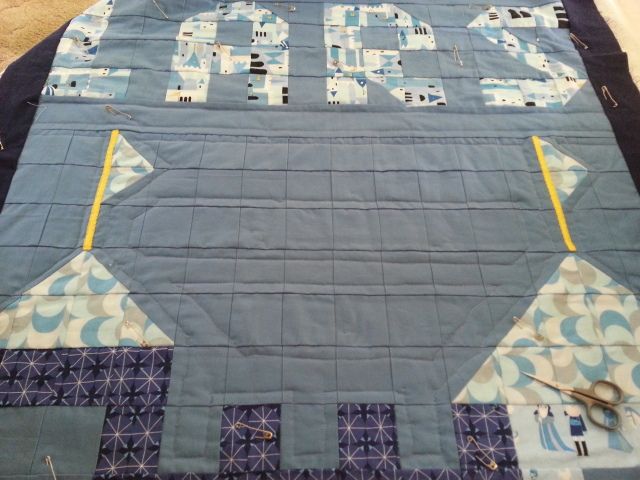
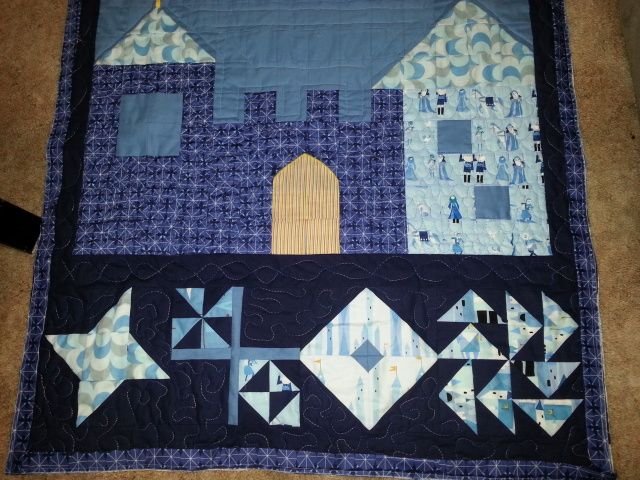
Top quilting is 'daisies' on the picture above.
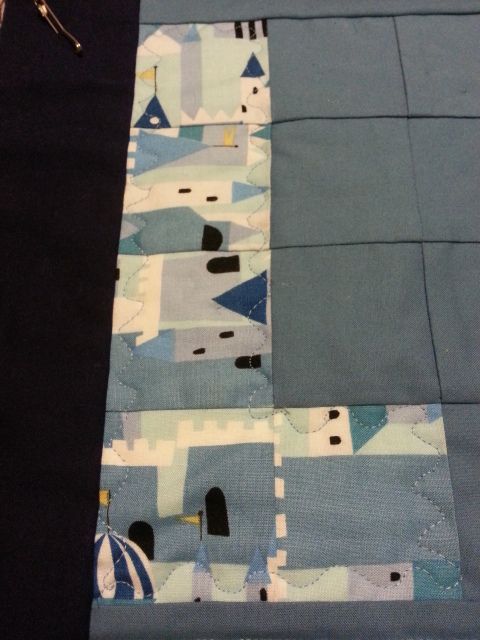
This quilting's kind of 'steamy'
This was my first one and I don't like it much but it was popular today. I *do* like the blue ricrac though :)
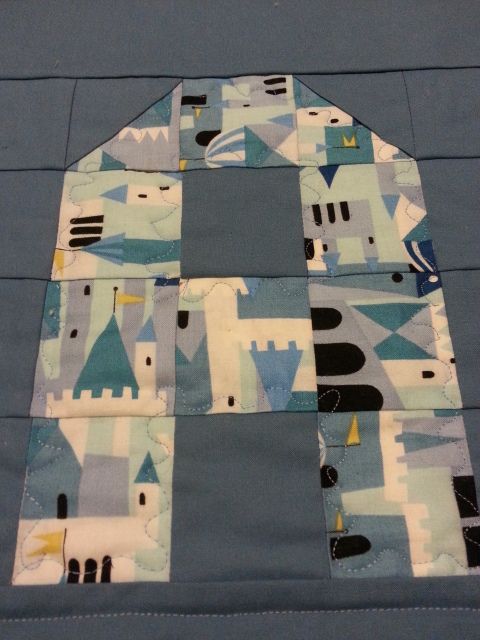
Some meandering quilting.
This quilting's kind of pebble style. I loved getting to use my decorative stitch on this blue ribbon.
More pebble quilting and another decorative stitch used.
Love hearts in the red, using variegated thread. The leaf pattern stitch was a bit lost in white on the gingham ribbon, but I still love this country cup pouch.
This divine fabric by Robert Kauffman (I believe it's called Florentine or Florentine 2 3 or 4) stole my heart, if I could use only 3 fabrics for the rest of my life I think this would be one of them!
I followed the fabric's lead when quilting this one. "Oh fabric, take me away!!"
Above is the scalloped quilting which was easy and effective, and I got to use some cute trims I've had for years, on the ones above and below.
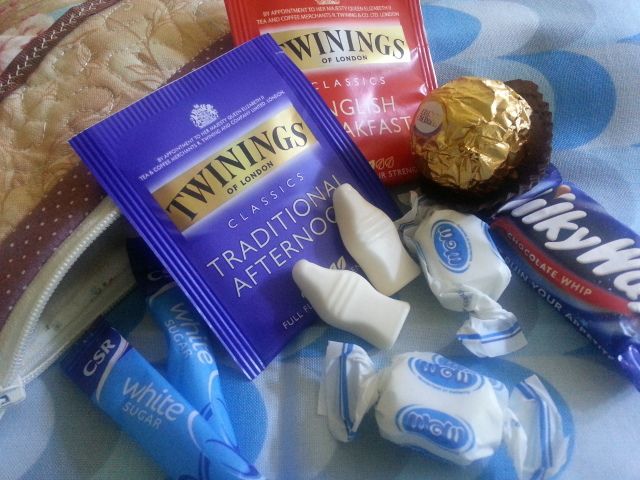
And Danielle brought all these goodies to fill them for each guest:
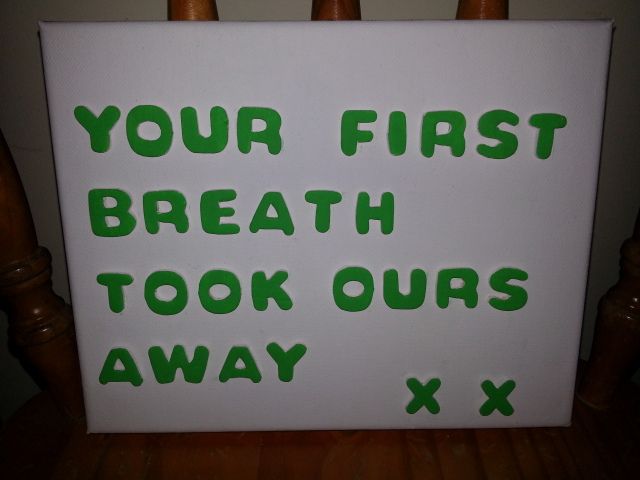
And made this adorable canvas for baby's room! Thank you!


Until next time, wishing you lots of stitching time.
Love Cass