Well you know I love a deadline, and most of my sewing projects are finished at the 11th hour. But I don't normally "Join" things at the 11th hour...
Last week, Jane at
quiltjane.blogspot.com.au reached out for people to make original 8 inch (finished) blocks in line with her Desperate Housewives Quilt Challenge which ends this week. She had 6 people pull out over the 50 weeks and so I thought "Well I can do that" and said yes.

So I have done the tutorial on how you can make this block too.
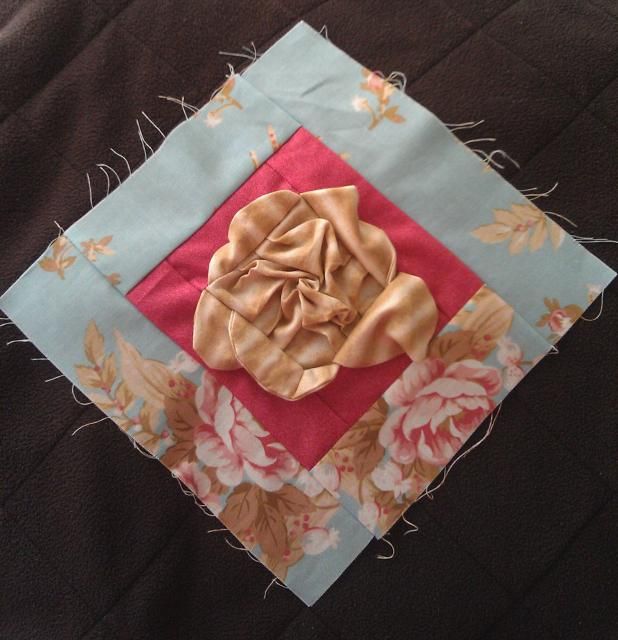
It's called "Tumbled Rose" and I'm mostly stoked with how I treated the large print border fabric. It was my first attempt at the origami rose (book details at the end) but I think I did ok at that. I added the outside petals myself, and that's part of what makes it an original block.
Enjoy...
Materials:
- 5in square of centre/rose fabric plus scraps for outer petals
- 1.5inch strip of (pink) first border fabric about 17 inches long
- 3 inch strip for second/outer border about 27 inches long
Method:
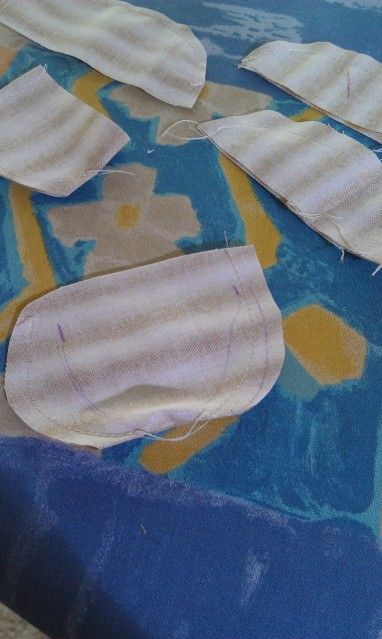
Begin by marking your 5 inch square at every inch (I used my invaluable Sewline Air Erasable Fabric Pen).
You really only need to mark the inches along the outside but I found it helped keep my folds straight by ruling right across

Fold your beginning inch into thirds bringing up the fold to the ruled line as below:
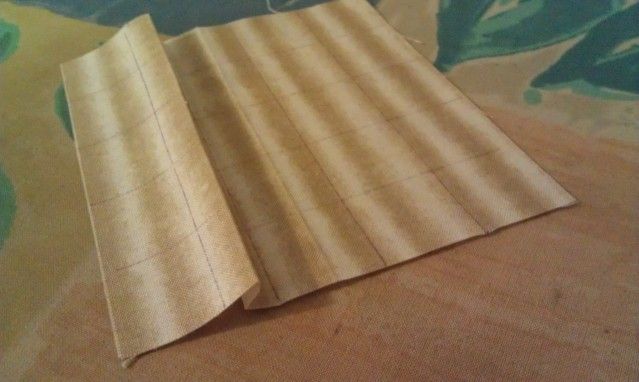
Press.
Pin it and continue with other inch marks, excluding the outer inches.
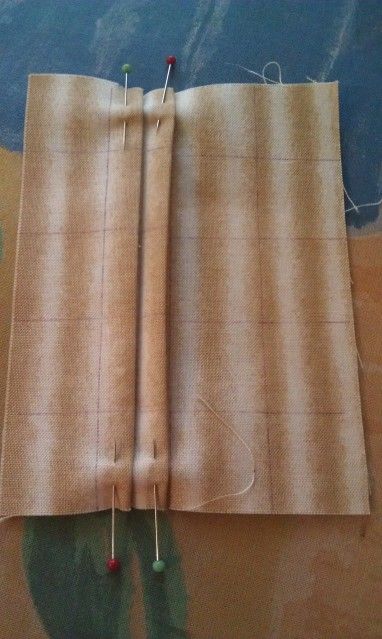
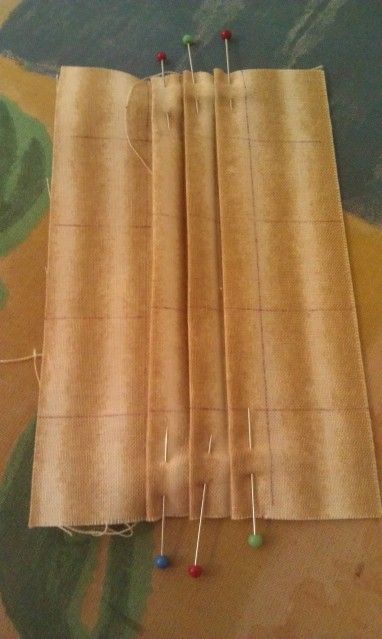
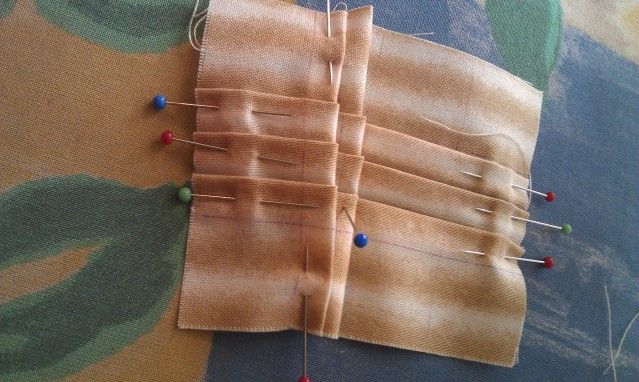
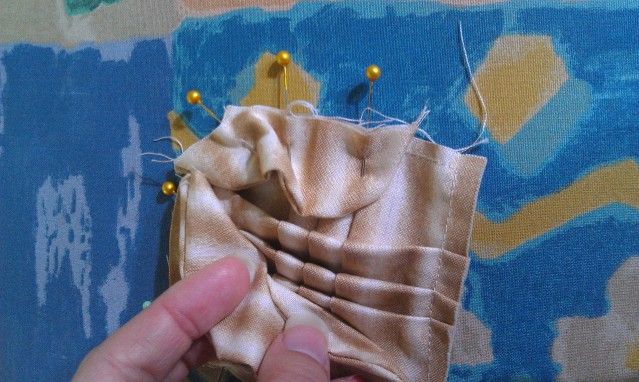
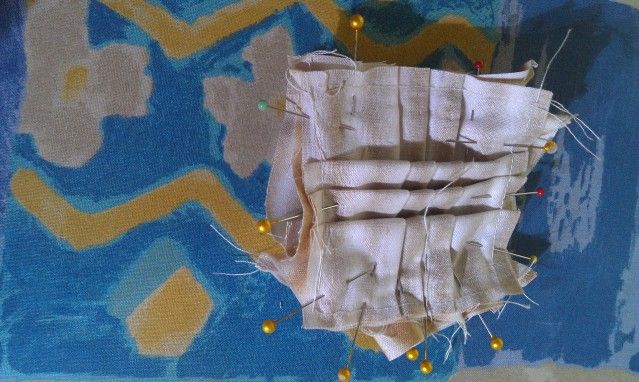
Now do the same folding, perpendicular to your original folds.
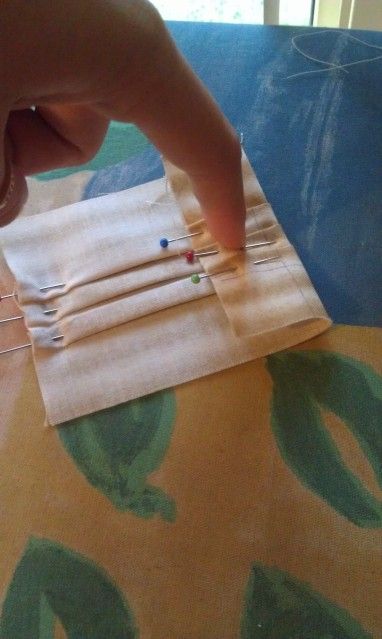
I found that pressing each third was more helpful seeing as this direction was a bit tougher/stronger than the first folds.
(remember: Glass head pins, plastic head pins will melt under your iron)
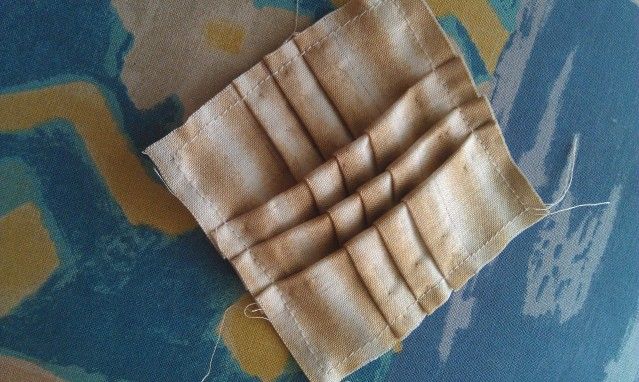
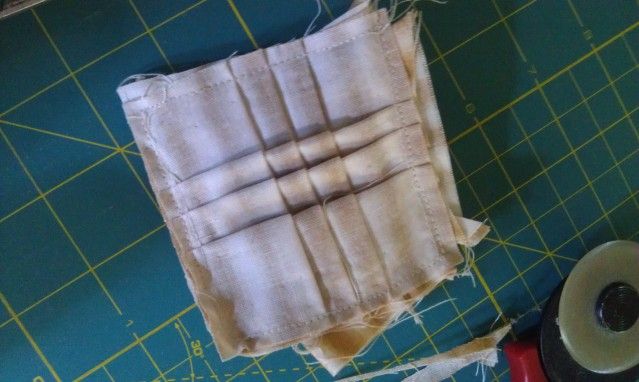
Check your block is 3 inches x 3 inches.
If it's too small, stretch your tightest folds and press again.
If it's too big, tighten your widest fold/s until you're better off. Press.
Now baste about 3/8 inch from outside edge and remove your pins
Right sides together, make some semi circle petals. I purposely made mine different shapes, print directions, and sizes.
Remember, nothing in nature is perfect, forgive yourself for dodgy bits on this project.
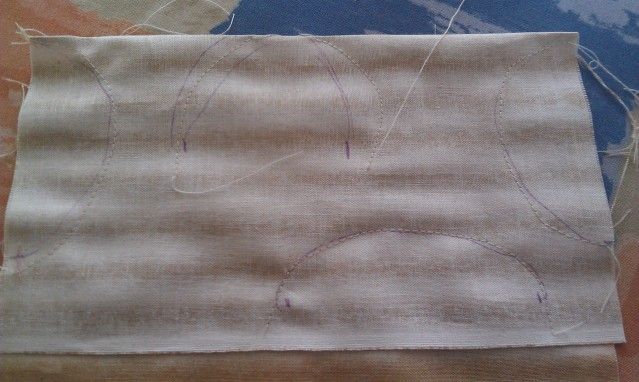
Cut them out and then turn them through (no photo of them just turned through until next instruction).
If you've sewn curves before you'll be tempted to notch the curves but I didn't do it on mine because I wanted the petals to be odd shapes and with volume.
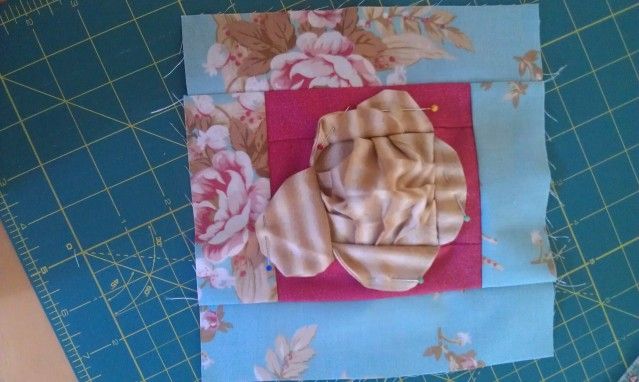
Now pin your petals to your basted centre block, raw edges out.
I used five petals, and even made one go around a corner to try and get some depth

FYI Flipside below: You'll likely have a bucketload of pins in by this stage.
Sew over your original basting to secure the petals. Trim your block again.
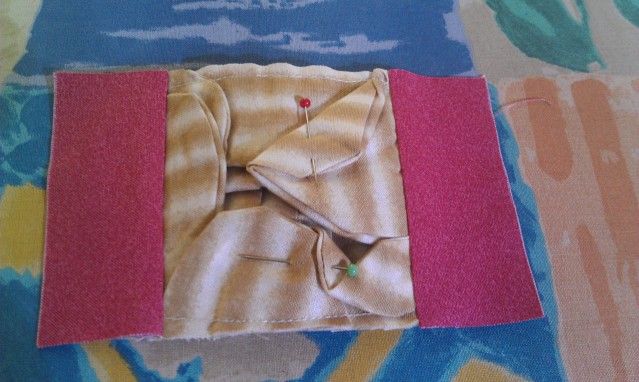
First border: Cut two of 1.5inch by 3inch strips and sew to your centre block as below. Press.
Seam: 1.4inch this time & from here onwards, hiding all your basting in the seam.
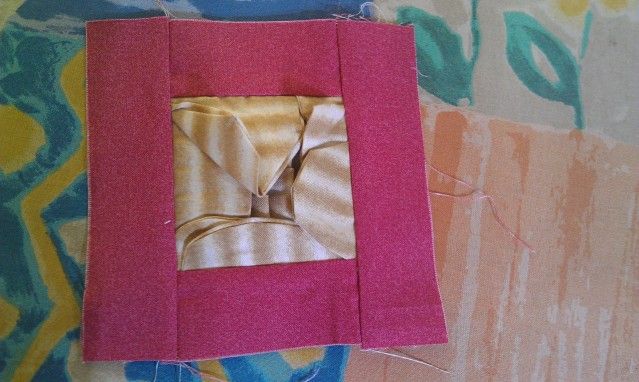
Cut your next two border pieces to 5.5 inches long and sew to the sides. Press.
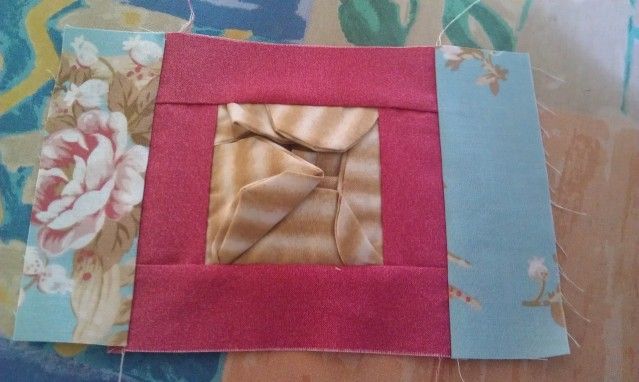
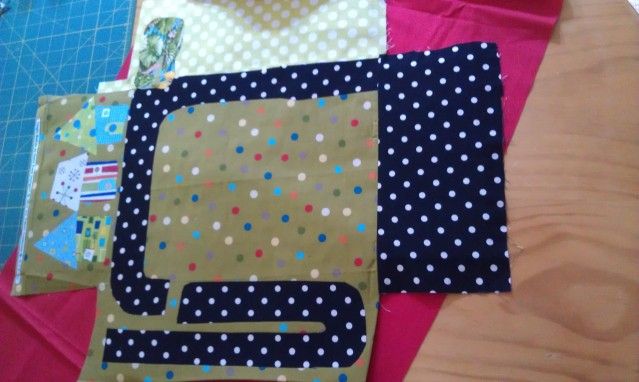
Second border: Cut two of 3inch by 5.5in and sew to the outer edges per below. Press. (Here is where I purposely selected the large print to be at one corner of my block)
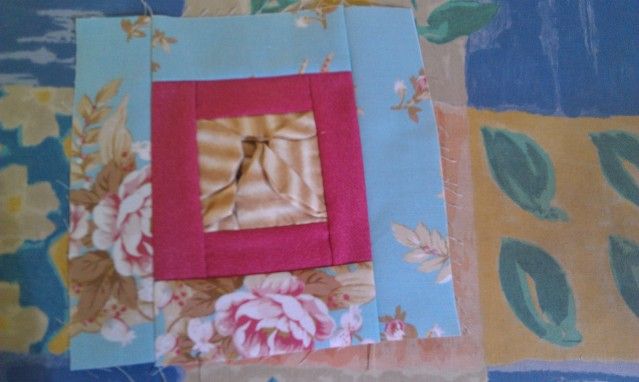
Cut two of 3inch by 8.5 inch strips and sew to complete the block. Check measurements and trim if necessary.
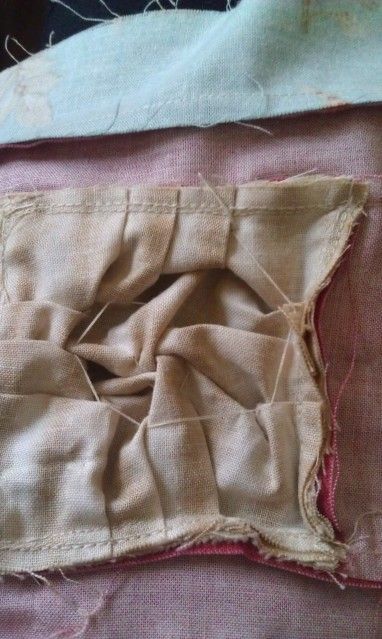
Pin your petals out of the way, and unfurl your folds.
Pinch the centre of your block and spin as many times as you can in one direction to reveal the rose.
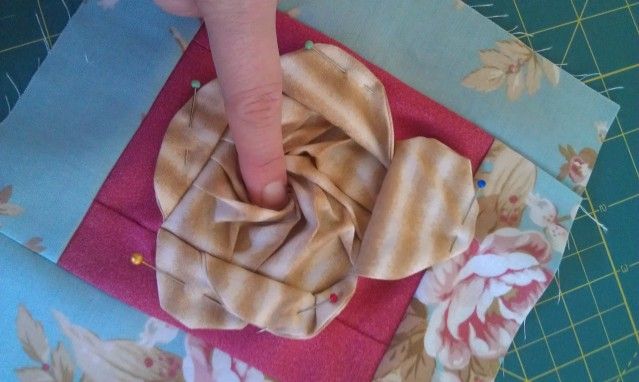
Secure with hand stitches. I found it difficult to keep the block flat at this stage, be mindful not to pull your stitches too tight, or you could try some type of interfacing (suggestions welcome in comments box!)
Use your thread to sew the edges of your petal to the first border, keeping in mind you may want to bend them into shape before deciding where to stitch.
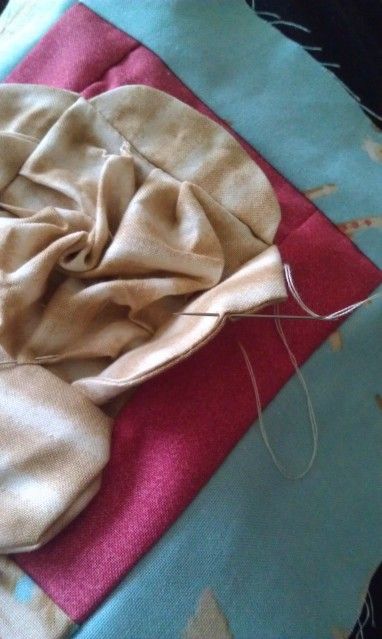
And there you have it!
For more origami flowers and fabric folding, check out Rebecca Wat's "Fantastic Fabric Folding: Innovative Quilting Projects"


 Meanwhile, in our town a cupcakery opened and I used the cutesy scraps to make a little wallhanging for the owner, Melissa, as a little gift. She made the cake pops for my 30th birthday and her creations are so delicious.
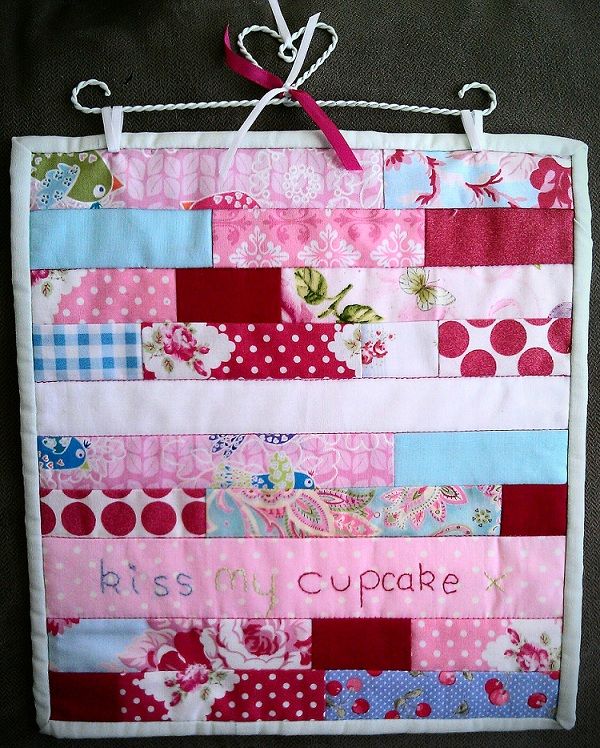


