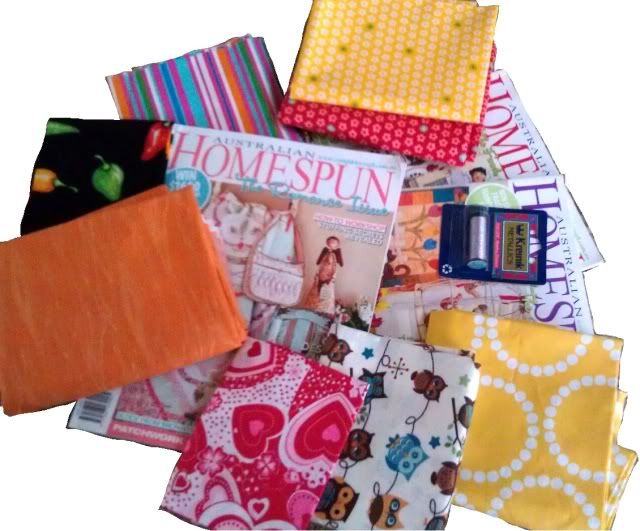
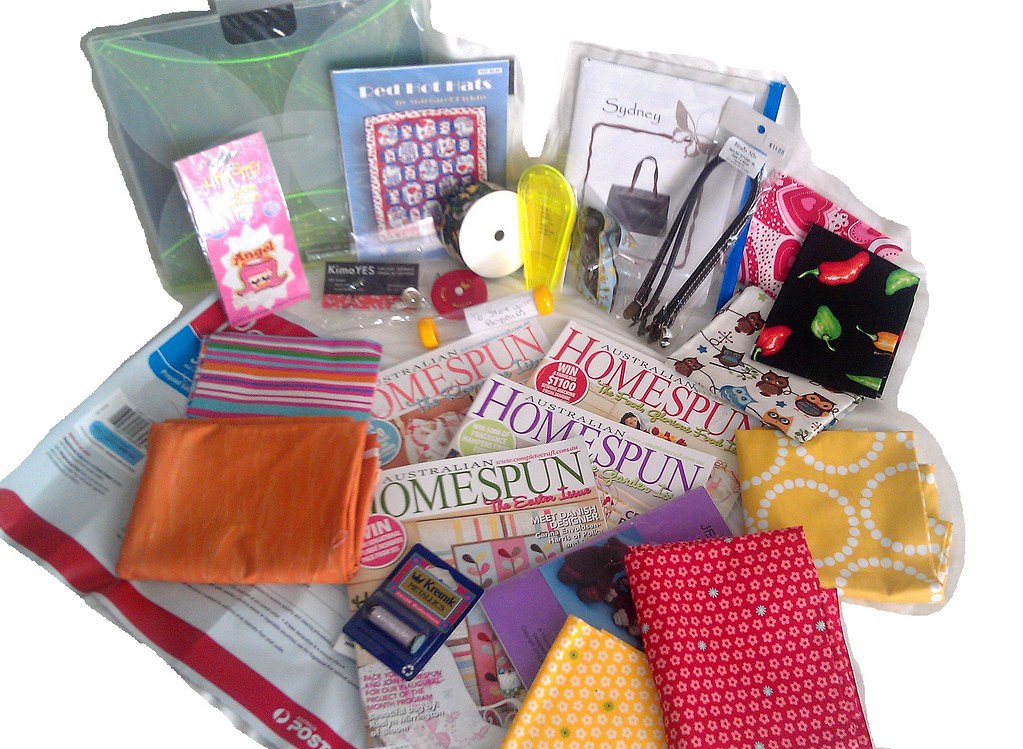
So, a "Travelling stash" is a bunch of things (say 10+) such as fabric/notions/mags, other exciting goodies that is posted to you. When you receive it, you take out items you like and replace each item you took with something new. Then post it to the next person.
The traditional rulessay you must have a blog to enter. You would hear about this on someone's blog, comment to be in the winning, and if you win you blog about it on your blog. Repeat repeat repeat, but nobody is "overseeing" it or organising its return.The rules of a traditional travelling stash are 1. You must be an ACTIVE BLOGGER 2. You must be local to the country in which it's held 4. When you receive it, write a blog post on its contents, what you removed, and what you put in. 3. Replace per diem - if you took 4 yards of fabric, replace it with 4 yards. of quilt quality fabric 5. Leave a comment on the blog (of who currently has it) for the chance to become the next recipient. |
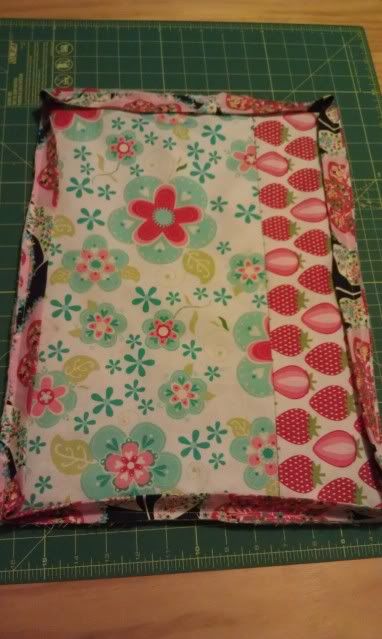
Another way you can do it, what I didI put all the items in the stash at the start, at my expense. I'm monitoring it in the hopes that everyone is attentive enough to pass it on, and my local friends and I are last on the list.At the end I get to keep the remaining stash* So these are my rules: 1. You sign up before the end date, and one day soon you will receive the travelling stash. 2. You take out any things you like (might be every thing in the stash, could just be a few items). 3. You replace them with equal value stash items. (If you took 4 fat quarters of quilt quality fabric, replace it with 4 fq of quilt quality fabric, if you took a notion/magazine/pattern, replace it with a similar value notion etc.) 4. You must be committed to share photos of how you got/left the stash and be willing to pay the postage (including tracking of some sort) to the next recipient (I give you their address, by email). Also, consider starting a Flickr group for this method. |
I encourage you to begin one - especially a group of ladies might be able to all contribute a little in order to get a big start?
Either way you go about it, each participant needs to be willing to pay postage of the parcel to the next recipient.
* Further to my comment "I get to keep the remaining stash" I think there will be items in the final parcel that aren't my style, and depending on how my sewing group attacks it, if there is any left I am thinking of doing a give away, or maybe turning the unwanted items into a traditional travelling stash. But this wont be for a few months, and it will all depend on how it pans out.


 entry!