
TUTORIAL:
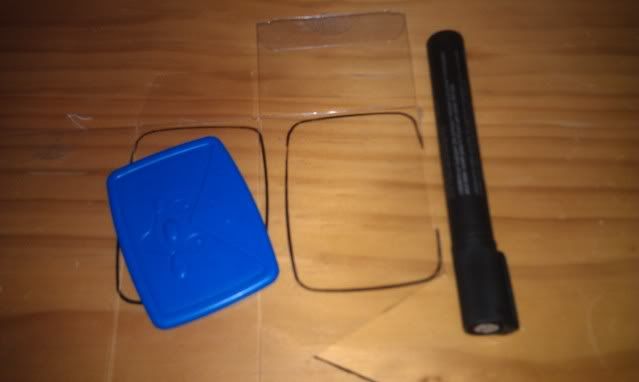
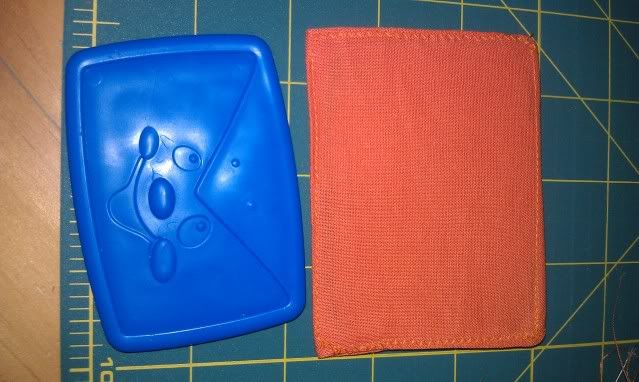
Using an old plastic container (mine was from Christmas decorations I purchased) trace around your existing envelope, or just draw whatever size you want.
Then cut out.
From your fabric, cut TWO pieces which are:
- as wide as the envelope plus generous seam allowance, and
- height of two and a half times the envelope plus a seam allowance
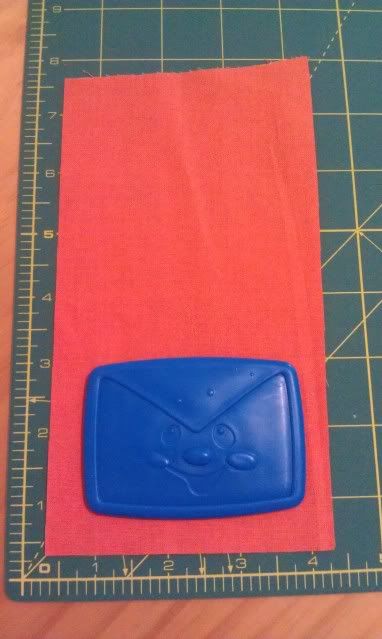
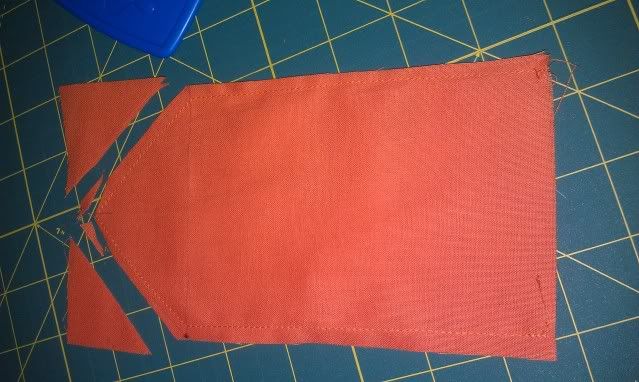
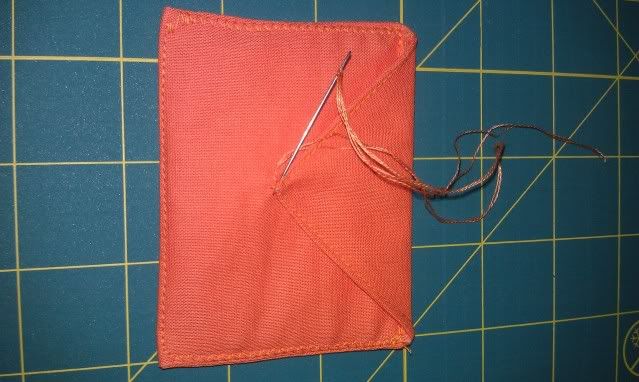
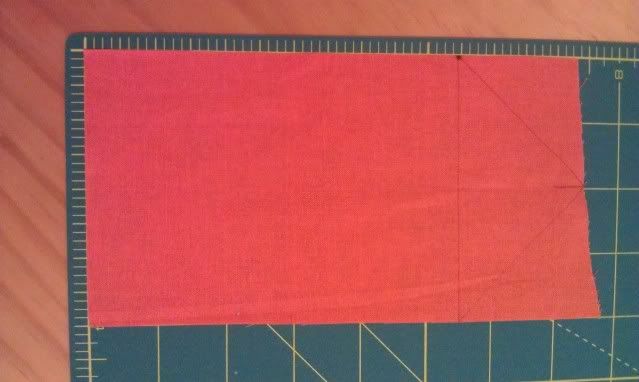 Find the centre of one short end and draw an envelope point
When sewing the point, be sure to avoid sewing right to the edge of the fabric or when you turn it out you will get fraying ends.
Sew around envelope, starting with one long end. Leave the flat short end open.
Find the centre of one short end and draw an envelope point
When sewing the point, be sure to avoid sewing right to the edge of the fabric or when you turn it out you will get fraying ends.
Sew around envelope, starting with one long end. Leave the flat short end open.
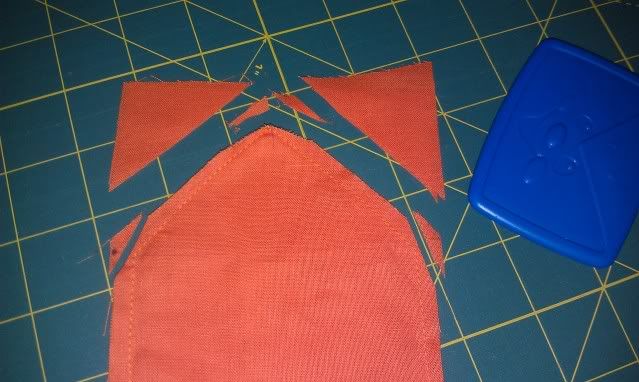
 Trim all the corners before turning
 Oops almost forgot the sides.
 - Flip through (and if you're good, you'll press/iron)
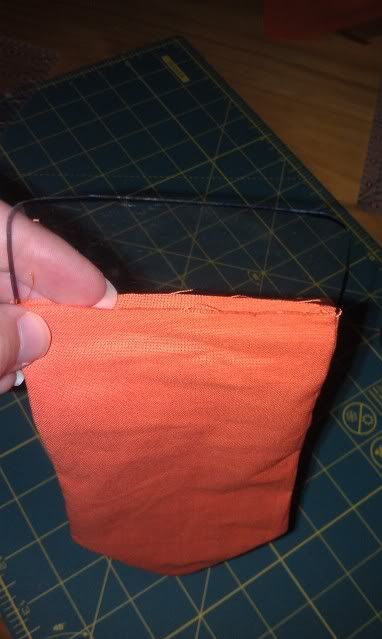
- Insert your piece of plastic inner as shown and push down toward pointy end.
- Fold up the flat, open end and stitch a line to seal it (no picture of this single seam)
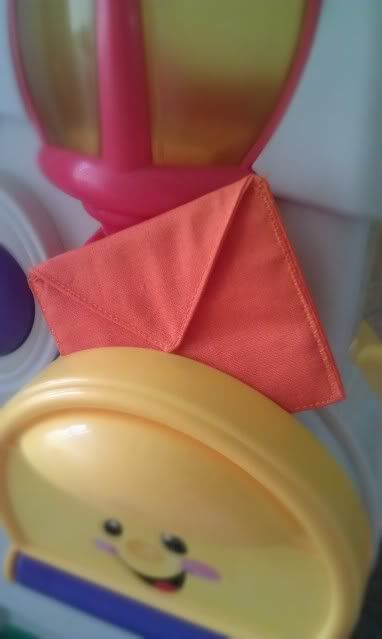
- Sew a line of topstitching around the whole outside (should be a stereotypical "house" shape at this stage). I zig-zag stitched on the sides just because I have a new machine and I can't help but try out everything.
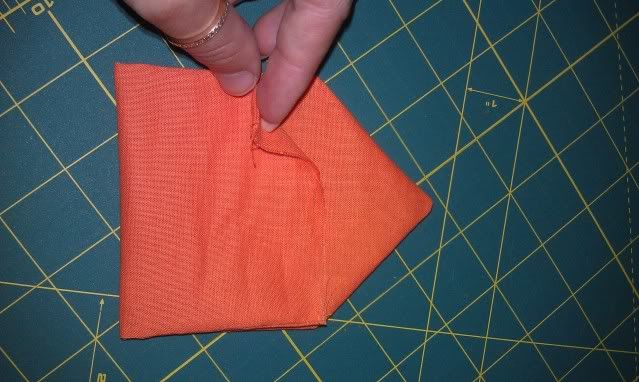
- Fold down the pointy end over the first seam you sewed (to hide it) and secure the pointy end with a few hand stitches.... or see below to avoid handstitching.
 I wish I had thought about putting an address on there first. Maybe next time.
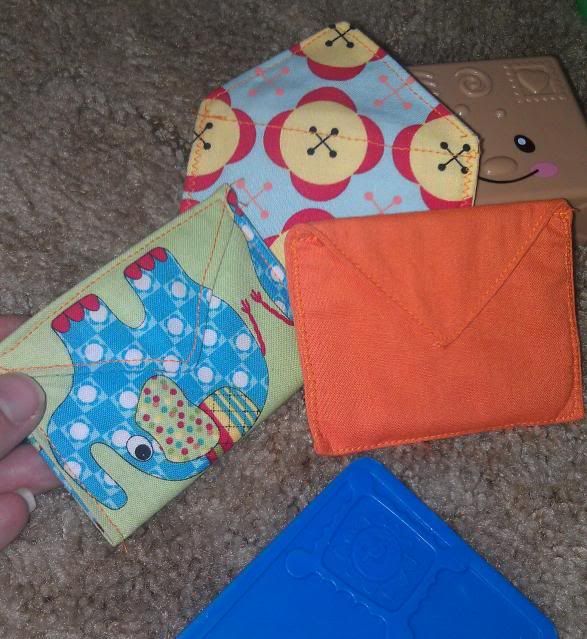
***** Here are two more, made using patterned fabrics from Windham fabrics, named "Little Menagerie" by Melanie Hurlston of Melly and me. One I left "open" by not hand-sewing down the point. And the other one I avoided handstitching by
- just topstitching the pointy end instead of sealing the short end, and
- folding the point down prior to topstitching around the whole outer. This means the point can be lifted a little but it keeps the envelope shape.
 What do you think?
 Could you make some of these for someone you know?
Those are soo cute! Great job on matching up the elephant.
ReplyDeleteThanks. LOL the elephant was an accident but I was stoked when I saw it coming together
Delete