
I was intrigued by how the bottom of flannelette pyjama pants come together with all that detail and no showing seams. So I figured it out, and decided to show you guys how to do it.
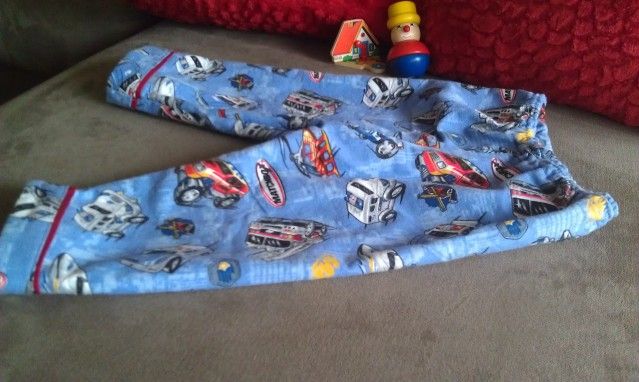
I’m so happy with how these came out, I think they look really professional, and encourage anyone to give it a go because it’s one of those things that LOOKS harder than it is!
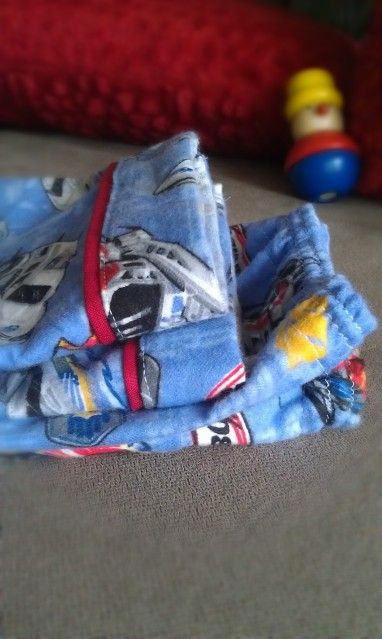
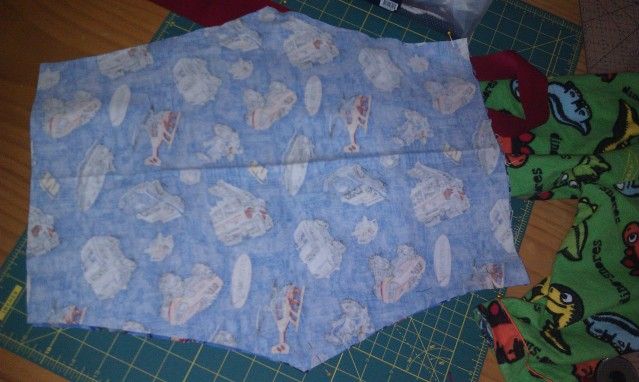
I used about 50cm flannelette across the width of the fabric for my one year old’s pants. Plus a 1.5 inch red homespun cotton across WOF too (looks like piping, but it’s so easy), and elastic/thread etc. So on the right hand side are the pyjamas that were my inspiration and template. (Dino-snores! Cute huh?) I traced them laying flat, right onto a FOLDED edge of my flannelette with my sewline air erasable pen. Try to remember to add seam allowance here, I always forget. Lucky for me they still fit my munchkin.

Cutting:
-
Trace and cut out two ‘legs’ (one for each leg, of course). Remember, if you cut on the fold, you don’t need two front and two back pieces, you’ll end up with a seam up the inside leg only.
- Also (from the flannelette remnants between the cuts you’ve made), cut a 2 inch strip that is as long as your pants are ‘wide’ (at the bottom edge). And cut another for the other leg edge. I’ll call this the flannelette trim piece.
- From cotton or satin fabric for the trim: cut a 1.5 inch strip across the width of fabric. (This will be used for both leg/trims, and you'll cut it into two later)
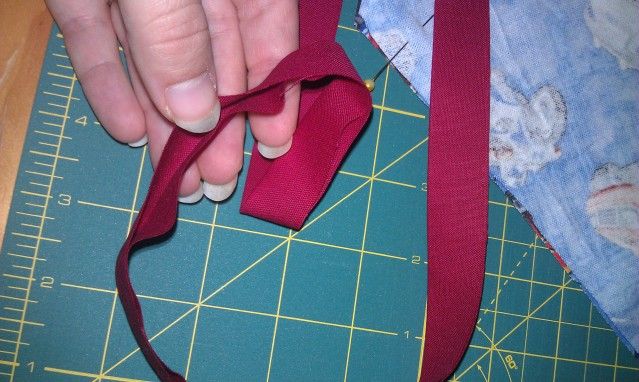
Part one: Prepare the cotton/satin trim by ironing it in half (Right sides out) so long raw edges meet.
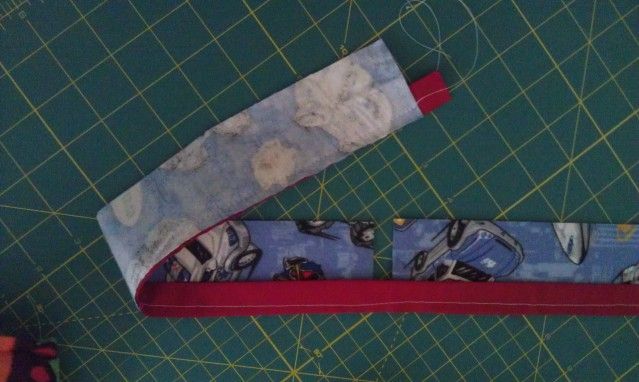
Match the raw edges of the trim to the long edges of your flannelette trim piece and sew together. (I’m a patchworker so I tend to use ¼ inch seam out of habit now, that’s what I recommend. You can “chain piece” by sewing both flannelette trim pieces to the cotton trim at once like I have shown here)
Now, you’ll have to trust me on the next step, even if it goes against your gut feeling!
Part 2:
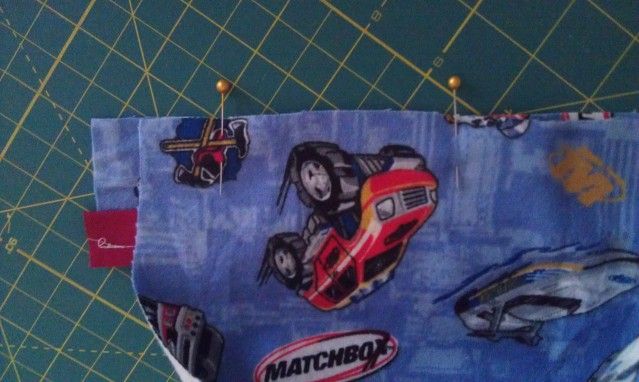
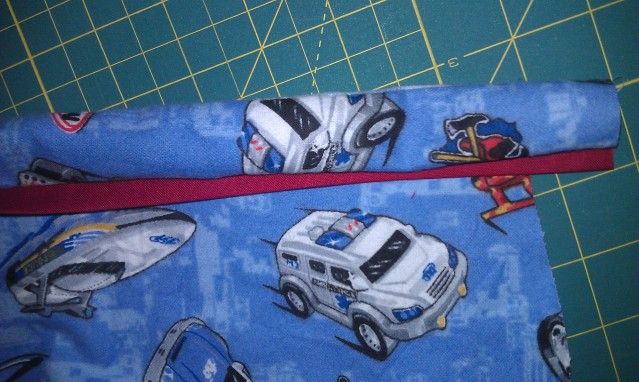
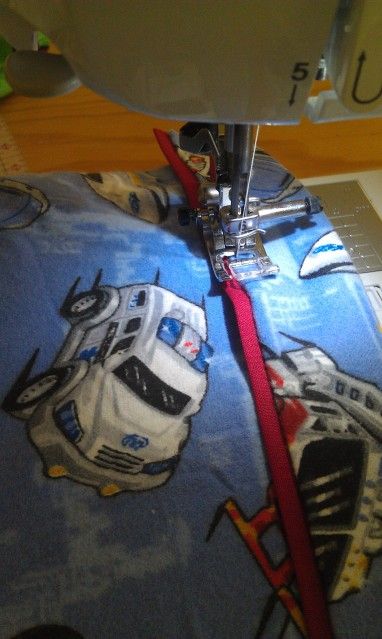
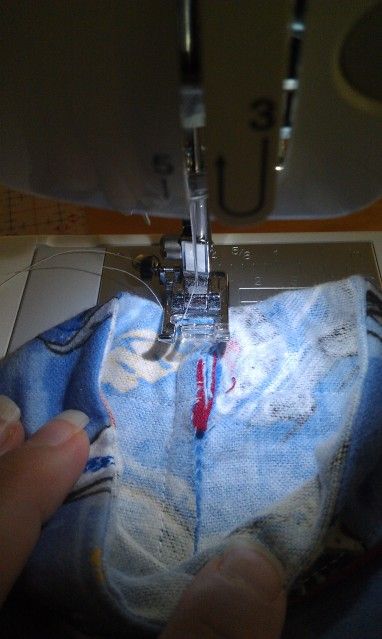
Pin the other raw edge to the bottom raw edge of your pants, with BOTH RIGHT SIDES facing UP and sew.
I know, it killed me to do it this way too, but trust me, it’s right.
Here’s a picture once you’ve sewn it, just so you’ll believe me.
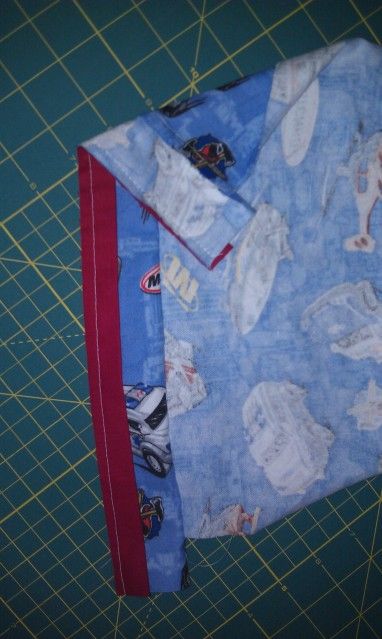
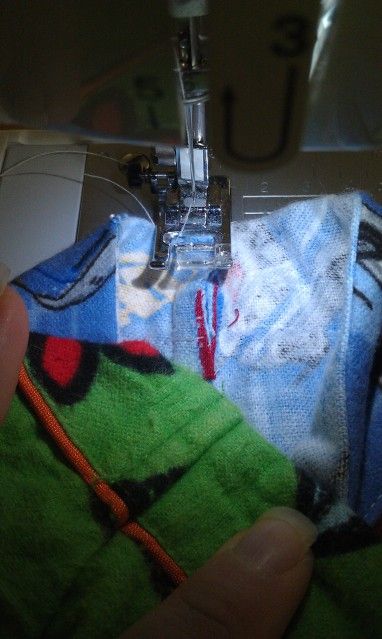
Now fold the trim up and over (so it overlaps the pyjama pants bottom) and you will see it come together....
Now press. Yes, do it. It makes a difference. You can be thankful you don’t have *real* piping to do.
Adjust it til the trim is sticking out at a width that is to your liking, and press the trim up over the pants' bottom edge.
Now ‘topstitch’ the whole thing closed (as close to the cotton trim as your skills will let you). And you’re past the hardest bit!
Part 3:
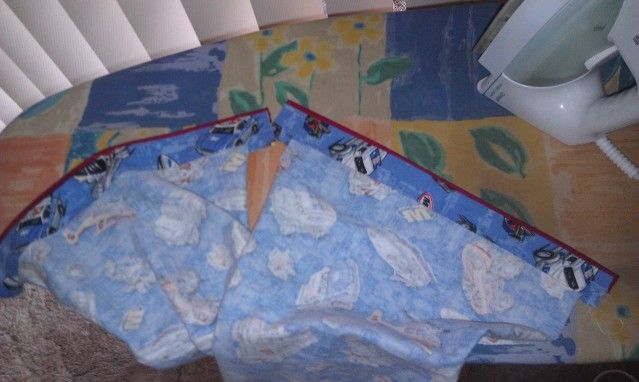
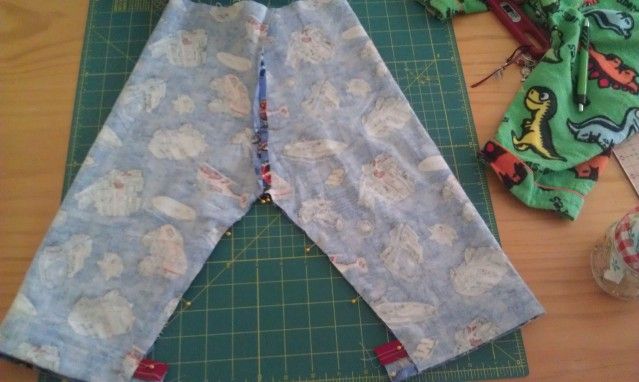
Lay your two leg pieces right sides together and pin from the top to the crotch area. Sew.
SIDE NOTE: Never mind that my pants-bottoms are not complete in this picture, I did the second step in a different order and thought better of it afterwards
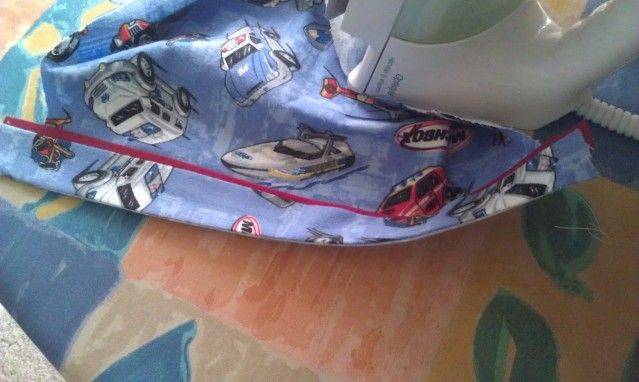
Pin and sew.
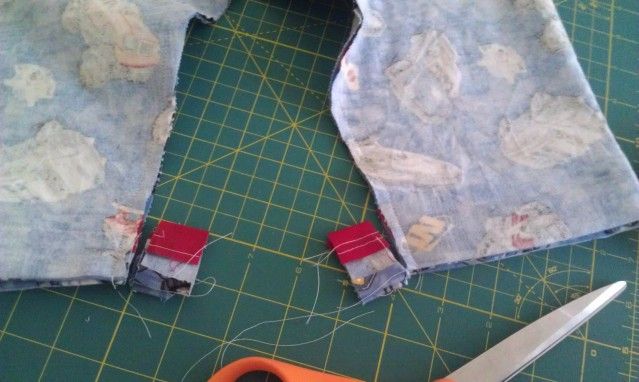
Trim excess ‘trim’.
I sewed down the bottom edge seam to one side because they seem to do that with kids clothes and sleepwear (and I’m all profesh! LOL). See?
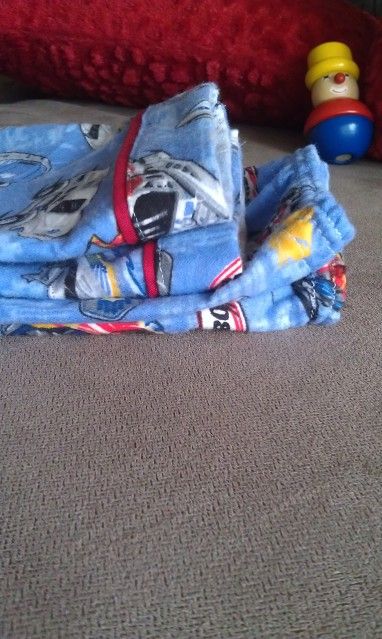
Action shot to make sure they fit before I put elastic in:
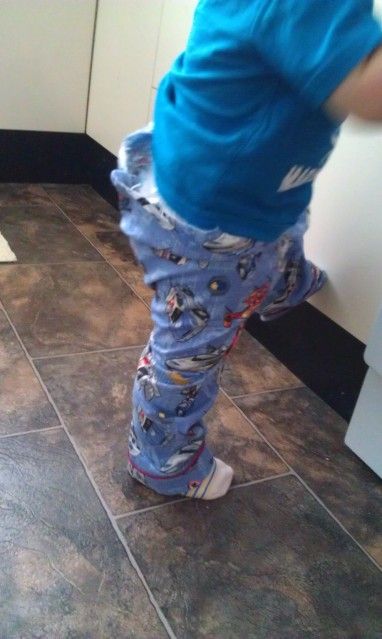
Put in elastic with your favourite method, and wait for bedtime!

Thanks for playing with me, I’d love to hear from you if you liked my tute or even gave it a crack!
I'm going to try this on some PJs for my granddaughter. Thank you!
ReplyDeleteYou know I never thought about putting in this little extra feature but now I may - thanks Cass.
ReplyDelete