
At first I thought "Hmm, the idea of machine binding would really need to be far less time consuming for me to give up that human touch and the ability to manouvre the fabric 'just so' to get a beautifully finished edge" and basically I still feel that way, but Man, it *is* faster!
I will show you here, you give it a go, and whether you like it or not, you will have it up your sleeve on the eve of [say] Mother's day when you have just hours before the handcrafted gift is to be opened ....yeah you know what I'm talking about!!
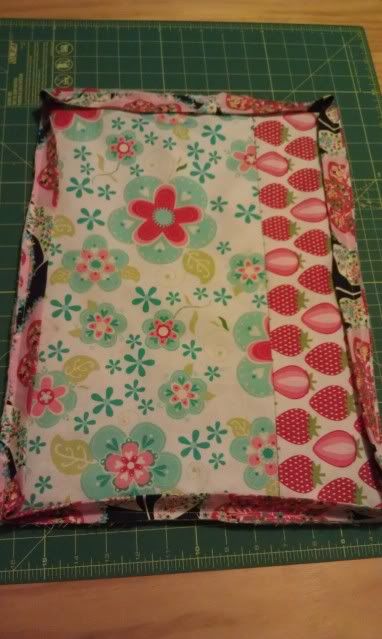
[This was a pretty rushed project, I whacked this together out of scraps to go on my computer table more for the tutorial. If I was making it for someone else I'd have taken more care]
Let's begin
This is for someone who knows how to bind a quilt already. Sorry for the poor lighting, one day I will replace these pictures with better ones!
- AFTER QUILTING, KEEPING YOUR WALKING FOOT ON: Select the top thread/spool to match your project, and insert the bobbin with fusible thread into your machine.
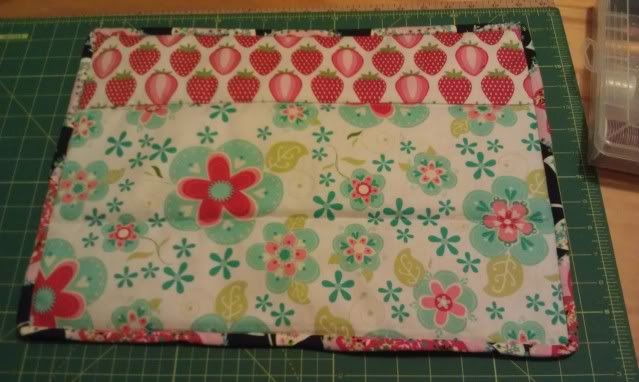
- Sew your binding around the quilt (raw edges together as normal) and you will have something like this:
Pic of the back (looks like monofilament thread/clear thread)
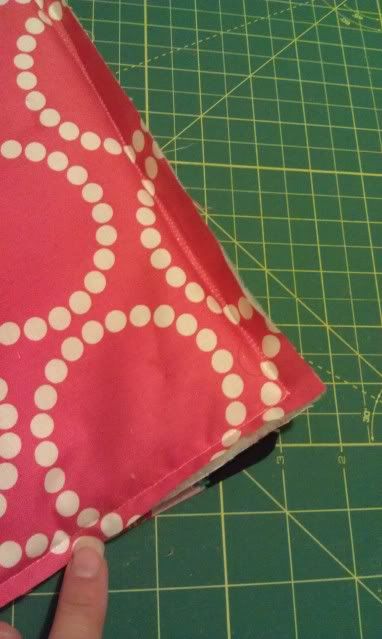
- With the top of your quilt facing down, pull your binding to the back (as you do when hand sewing). Iron your binding down.
TIP:
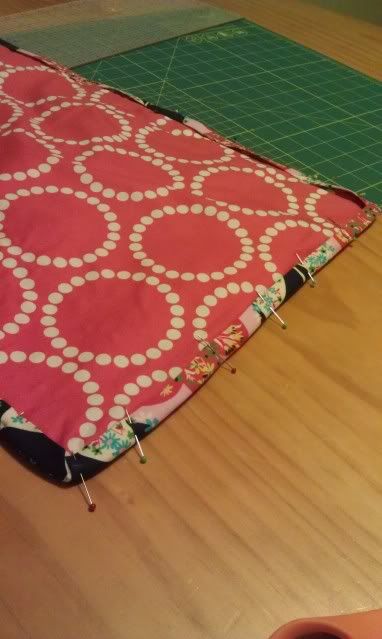
I used binding cut at 2 and a half inches wide then ironed in half. I forgot that when using fusible thread you should add about another half inch. That way you ensure you have plenty of room for the binding to cover the fusible thread, and the machine stitching to catch all the way around.
I had to pin mine down during ironing because I was just cutting it a little too fine, but I still carried on.When ironing your binding over to the back, you have the opportunity to make really nice corners. Ironing helps the mitre behave IMO, and if you've added half an inch to your binding before cutting, you will see what I mean.
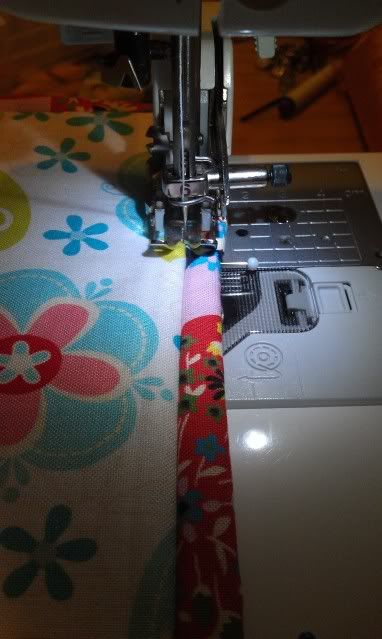
- Ok, now flip your work so the front of your quilt is facing up again.
- Choose a top thread to go best with your quilt top (not the binding, but the top) and a bobbin thread to go best with the binding, or complement the back of the quilt somehow.
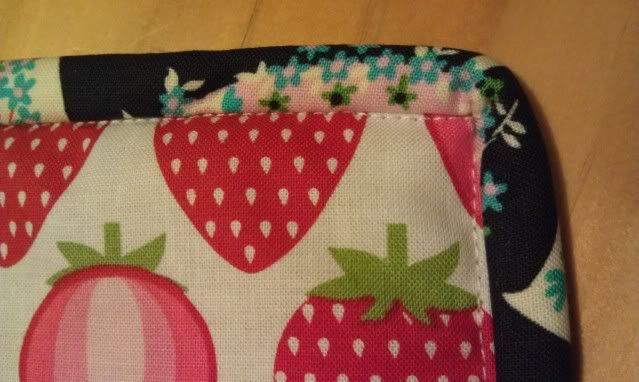
- Align your needle to be in the ditch on the quilt side of the binding. Err on the side of the quilt rather than swerving onto the binding. As with other quilting, the ditch will deepen and hide your mistakes a little, but a beeline into the binding looks way worse.
Here's what the top looks like once you're done (extreme close up, nobody else looks as hard at your quilt as you do)
And below is the back.
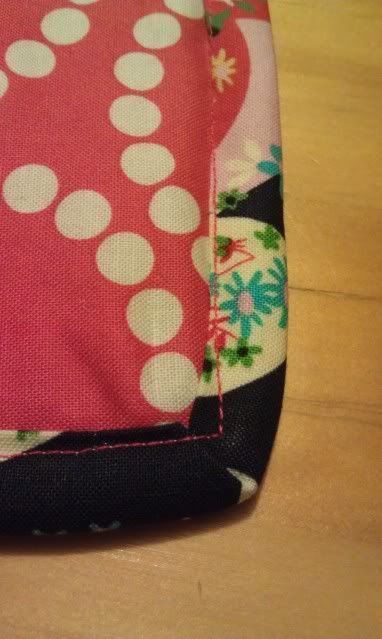
I originally had dark blue thread in the bobbin. The fabric when you look at it full scale is dominantly dark blue, but in the binding it's less obvious and eventually I felt that red would complement the overall completed look.
When you allow a little extra width, your binding will be caught with more allowance. I really wanted to apologise after every photo but I'll just stop apologising now!
Cassie, I read about this the other day on 52 weeks. Maybe it was you who mentioned it? I'm intrigued... Do you really think it's worth it? Is it invisible in the end? I'm with you in that I'm a traditionalist. I just can't bring myself to machine stitch binding in the last step, I always punish myself with hand stitching. Have you read any other reviews? I'm sure I'll try it myself, will have to put it on the shopping list for my next trip to Australia LOL Oh, and definitely stop apologising over those photos. That little quilt looks gorgeous!
ReplyDeleteThanks Gemma, yes it was me talking about it in the group. I definitely use it in certain cases, but a bit of hand sewing every now and again helps me remember who my husband is LOL. Otherwise, unless he sat with me while I sewed or pinterested I might forget what he looks like!!
DeleteThe fusible thread ends up hidden under the binding. If you were binding with a solid colour fabric the second bobbin thread would be easier to match and it looks nicer. Next time I bind something I'll update pictures and let you know.
I was thinking that by using invisible thread, you wouldn't see the stitching on the front of the quilt. But you do see the stitching. I assume now, it is the 1st row of stitching the binding on, that you don't see the thread on the front of the quilt! If you sew a bit off line on the front of the quilt, you don't see the first row of stitching, I assume?? LOL
ReplyDeleteI hope this makes sense? lol
But this way is soooo much quicker too.